配置
更新: 5/28/2025 字数: 0 字 时长: 0 分钟
目录
搭建完成后,已经有了一个完善的目录
在此基础上,我们可以进行修改和新增
.
├─ docs
│  ├─ .vitepress
│  │  └─ config.mts          <-- 配置文件已由ts变成mts
│  ├─ api-examples.md        <-- 文章1
│  ├─ markdown-examples.md   <-- 文章2
│  ├─ guide                  <-- 新增目录
│  │   └─ index.md           <-- 新增目录的首页
│  └─ index.md               <-- 首页
└─ package.json生成的 HTML 页面会是这样:
api-examples.md         -->    /api-examples.html
markdown-examples.md    -->    /markdown-examples.html
index.md                -->    /index.html (可以通过 / 访问)
guide/index.md --> /guide/index.html (可以通过 /guide/ 访问)基础配置
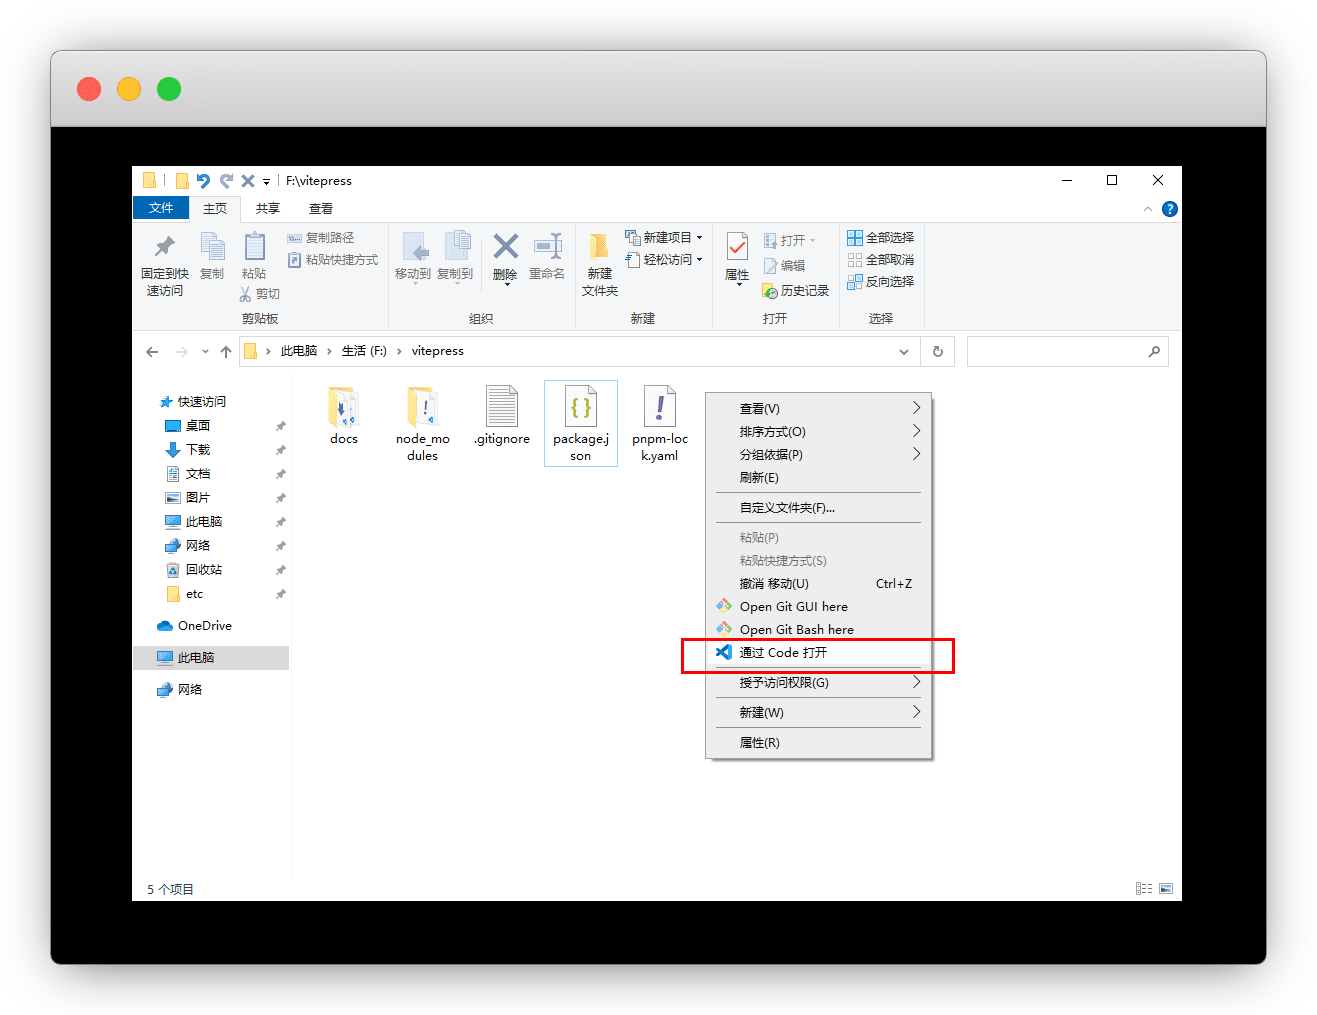
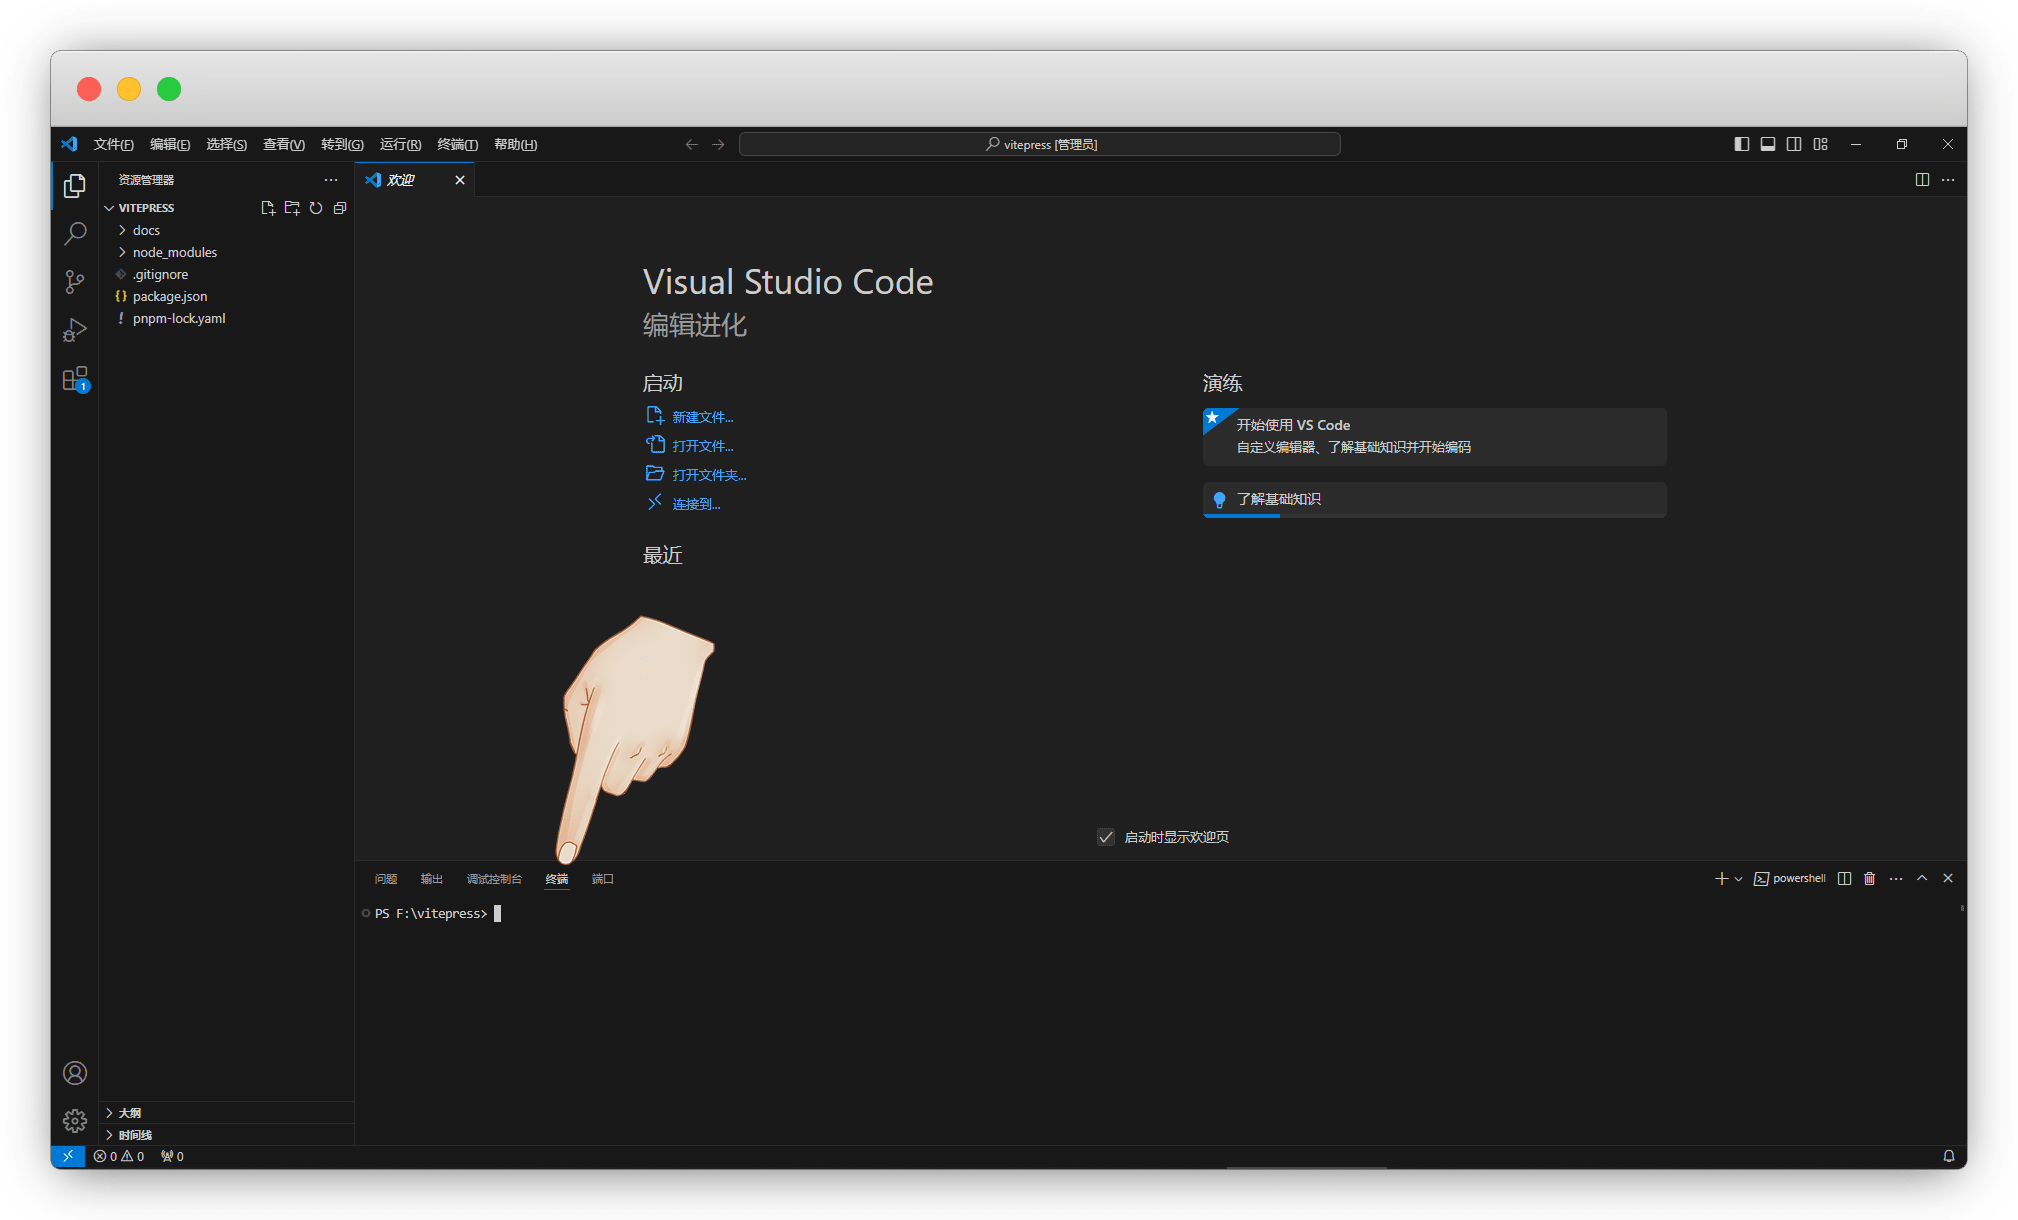
在当前目录,右键用 vscode 打开 ,没有的请自行安装VScode
然后按 Ctrl+`(~) 键 (ESC下面的那个键),调出终端,正式开始开发
展开右侧目录,找到 config.mts
md
.
├─ docs
│  ├─ .vitepress
│  │  └─ config.mts           <--  配置文件,支持js、ts、mjs、mts
│  ├─ api-examples.md
│  ├─ markdown-examples.md
│  └─ index.md
└─ package.json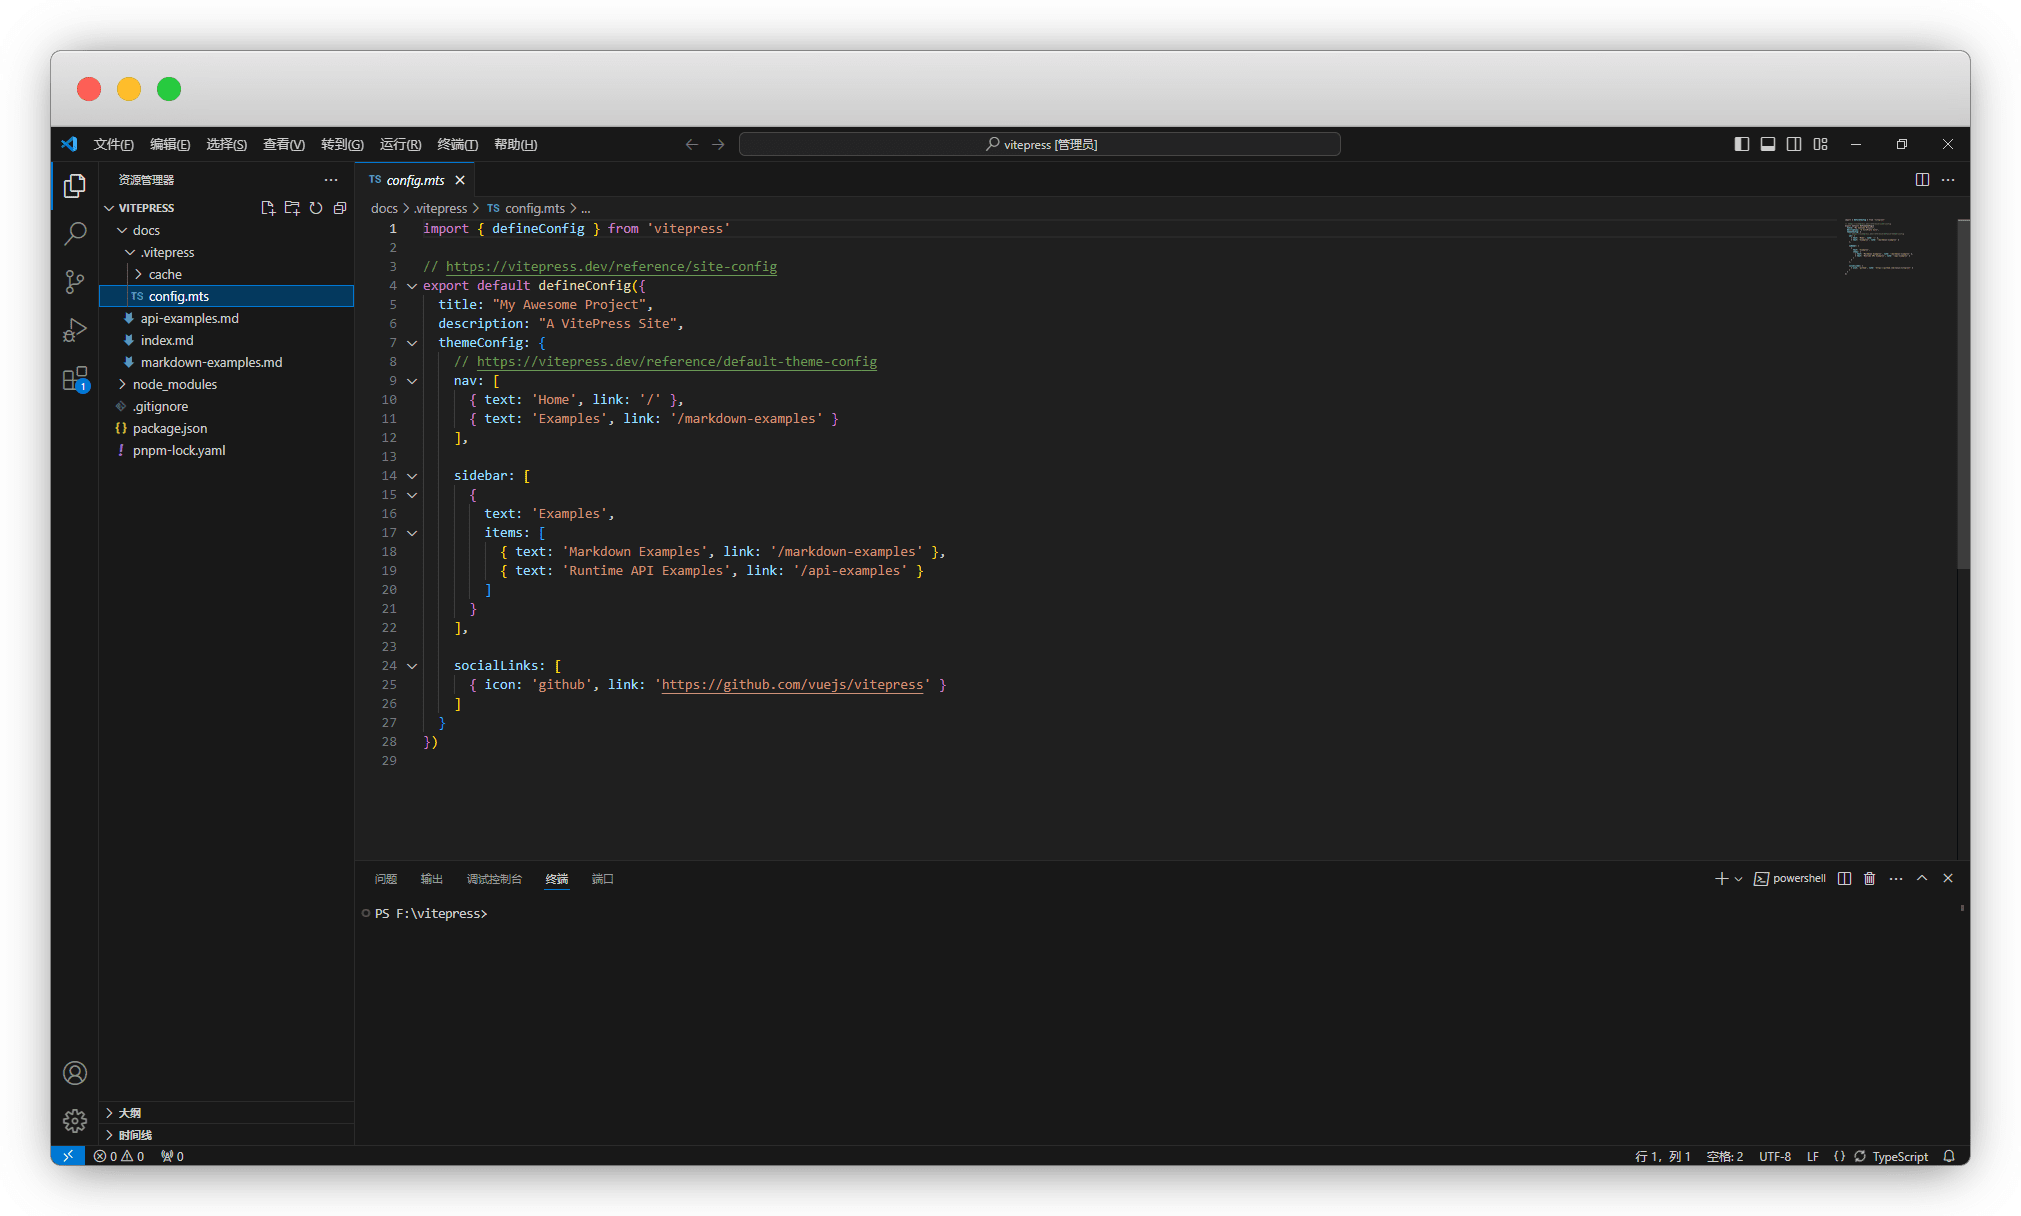
配置已经写好了,在此基础上修改就行了
ts
import { defineConfig } from 'vitepress'

// https://vitepress.dev/reference/site-config
export default defineConfig({
  title: "My Awesome Project",
  description: "A VitePress Site",
  themeConfig: {
    // https://vitepress.dev/reference/default-theme-config
    nav: [
      { text: 'Home', link: '/' },
      { text: 'Examples', link: '/markdown-examples' }
    ],

    sidebar: [
      {
        text: 'Examples',
        items: [
          { text: 'Markdown Examples', link: '/markdown-examples' },
          { text: 'Runtime API Examples', link: '/api-examples' }
        ]
      }
    ],

    socialLinks: [
      { icon: 'github', link: 'https://github.com/vuejs/vitepress' }
    ]
  }
})如何重新进入开发模式
如何退出
ctrl+c 即可退出开发模式
sh
pnpm run docs:devsh
yarn docs:devsh
npm run docs:devsh
bun run docs:dev纯净链接
这是一个简单又麻烦的事,可以等网站初上线后,再来完善
它需要服务器支持,默认情况下Vitepress的链接以 .html 结尾
服务器支持
Netlify 和 GitHub Pages 是无需配置
确保文章在引用是没有使用 *md 的后缀名
[Getting Started](./getting-started)
[Getting Started](../guide/getting-started)然后在 config.mts 中配置如下
ts
import { defineConfig } from 'vitepress'

export default defineConfig({
  cleanUrls:true, //开启纯净链接
})服务器不支持
需要变更下目录,将原先的文档放入文件夹中
原先的 api-examples.md 变成了 api-examples/index.md
md
.
├─ docs
│  ├─ .vitepress
│  ├─ api-examples
│  │  └─ index.md            <-- 文章1
│  ├─ markdown-examples
│  │  └─ index.md            <-- 文章2
│  └─ index.md               <-- 首页
└─ package.json上传到github代码
sh
git initsh
git add .sh
git commit -m "描述":::
sh
git remote add origin https://github.com/mydaozun/doc.gitsh
git push -u origin mastersh
echo "# doc" >> README.md
git init
git add README.md
git commit -m "first commit"
git branch -M main
git remote add origin https://github.com/mydaozun/doc.git
git push -u origin main:::
deploy脚本
更新: 5/28/2025 字数: 0 字 时长: 0 分钟
sh
name: Deploy VitePress site to Pages

on:
  push:
    branches: [master]

# 设置tokenn访问权限
permissions:
  contents: read
  pages: write
  id-token: write

# 只允许同时进行一次部署,跳过正在运行和最新队列之间的运行队列
# 但是,不要取消正在进行的运行,因为我们希望允许这些生产部署完成
concurrency:
  group: pages
  cancel-in-progress: false

jobs:
  # 构建工作
  build:
    runs-on: ubuntu-latest
    steps:
      - name: Checkout
        uses: actions/checkout@v3
        with:
          fetch-depth: 0 # 如果未启用 lastUpdated,则不需要
      - name: Setup pnpm
        uses: pnpm/action-setup@v2 # 安装pnpm并添加到环境变量
        with:
          version: 8.6.12 # 指定需要的 pnpm 版本
      - name: Setup Node
        uses: actions/setup-node@v3
        with:
          node-version: 18
          cache: pnpm # 设置缓存
      - name: Setup Pages
        uses: actions/configure-pages@v3  # 在工作流程自动配置GithubPages
      - name: Install dependencies
        run: pnpm install # 安装依赖
      - name: Build with VitePress
        run: |
          pnpm run docs:build # 启动项目
          touch .nojekyll  # 通知githubpages不要使用Jekyll处理这个站点,不知道为啥不生效,就手动搞了
      - name: Upload artifact
        uses: actions/upload-pages-artifact@v2  # 上传构建产物
        with:
          path: .vitepress/dist # 指定上传的路径,当前是根目录,如果是docs需要加docs/的前缀

  # 部署工作
  deploy:
    environment:
      name: github-pages
      url: ${{ steps.deployment.outputs.page_url }} # 从后续的输出中获取部署后的页面URL
    needs: build    # 在build后面完成
    runs-on: ubuntu-latest  # 运行在最新版本的ubuntu系统上
    name: Deploy
    steps:
      - name: Deploy to GitHub Pages
        id: deployment  # 指定id
        uses: actions/deploy-pages@v2 # 将之前的构建产物部署到github pages中